macOS学习笔记--IKPictureTaker玩耍记录
起因
某天,在mac交流群有人问到类似macQQ的选取头像功能怎么实现.印象中在Telegram上面有个相同的功能,就把Telegram的源码Clone下来查看了一番,于是定位到了这个组件,查阅了一下官方文档和Demo,确实是一个自带的控件.但是官方的范例是2013年的,而且还是远古时期的oc代码.于是就有了本篇博客.
实现过程
新建一个Cocoa工程,然后手动拖一个NSImageView和一个NSButton到NSViewController.然后设置一下约束(这个随意,能显示出来就好).
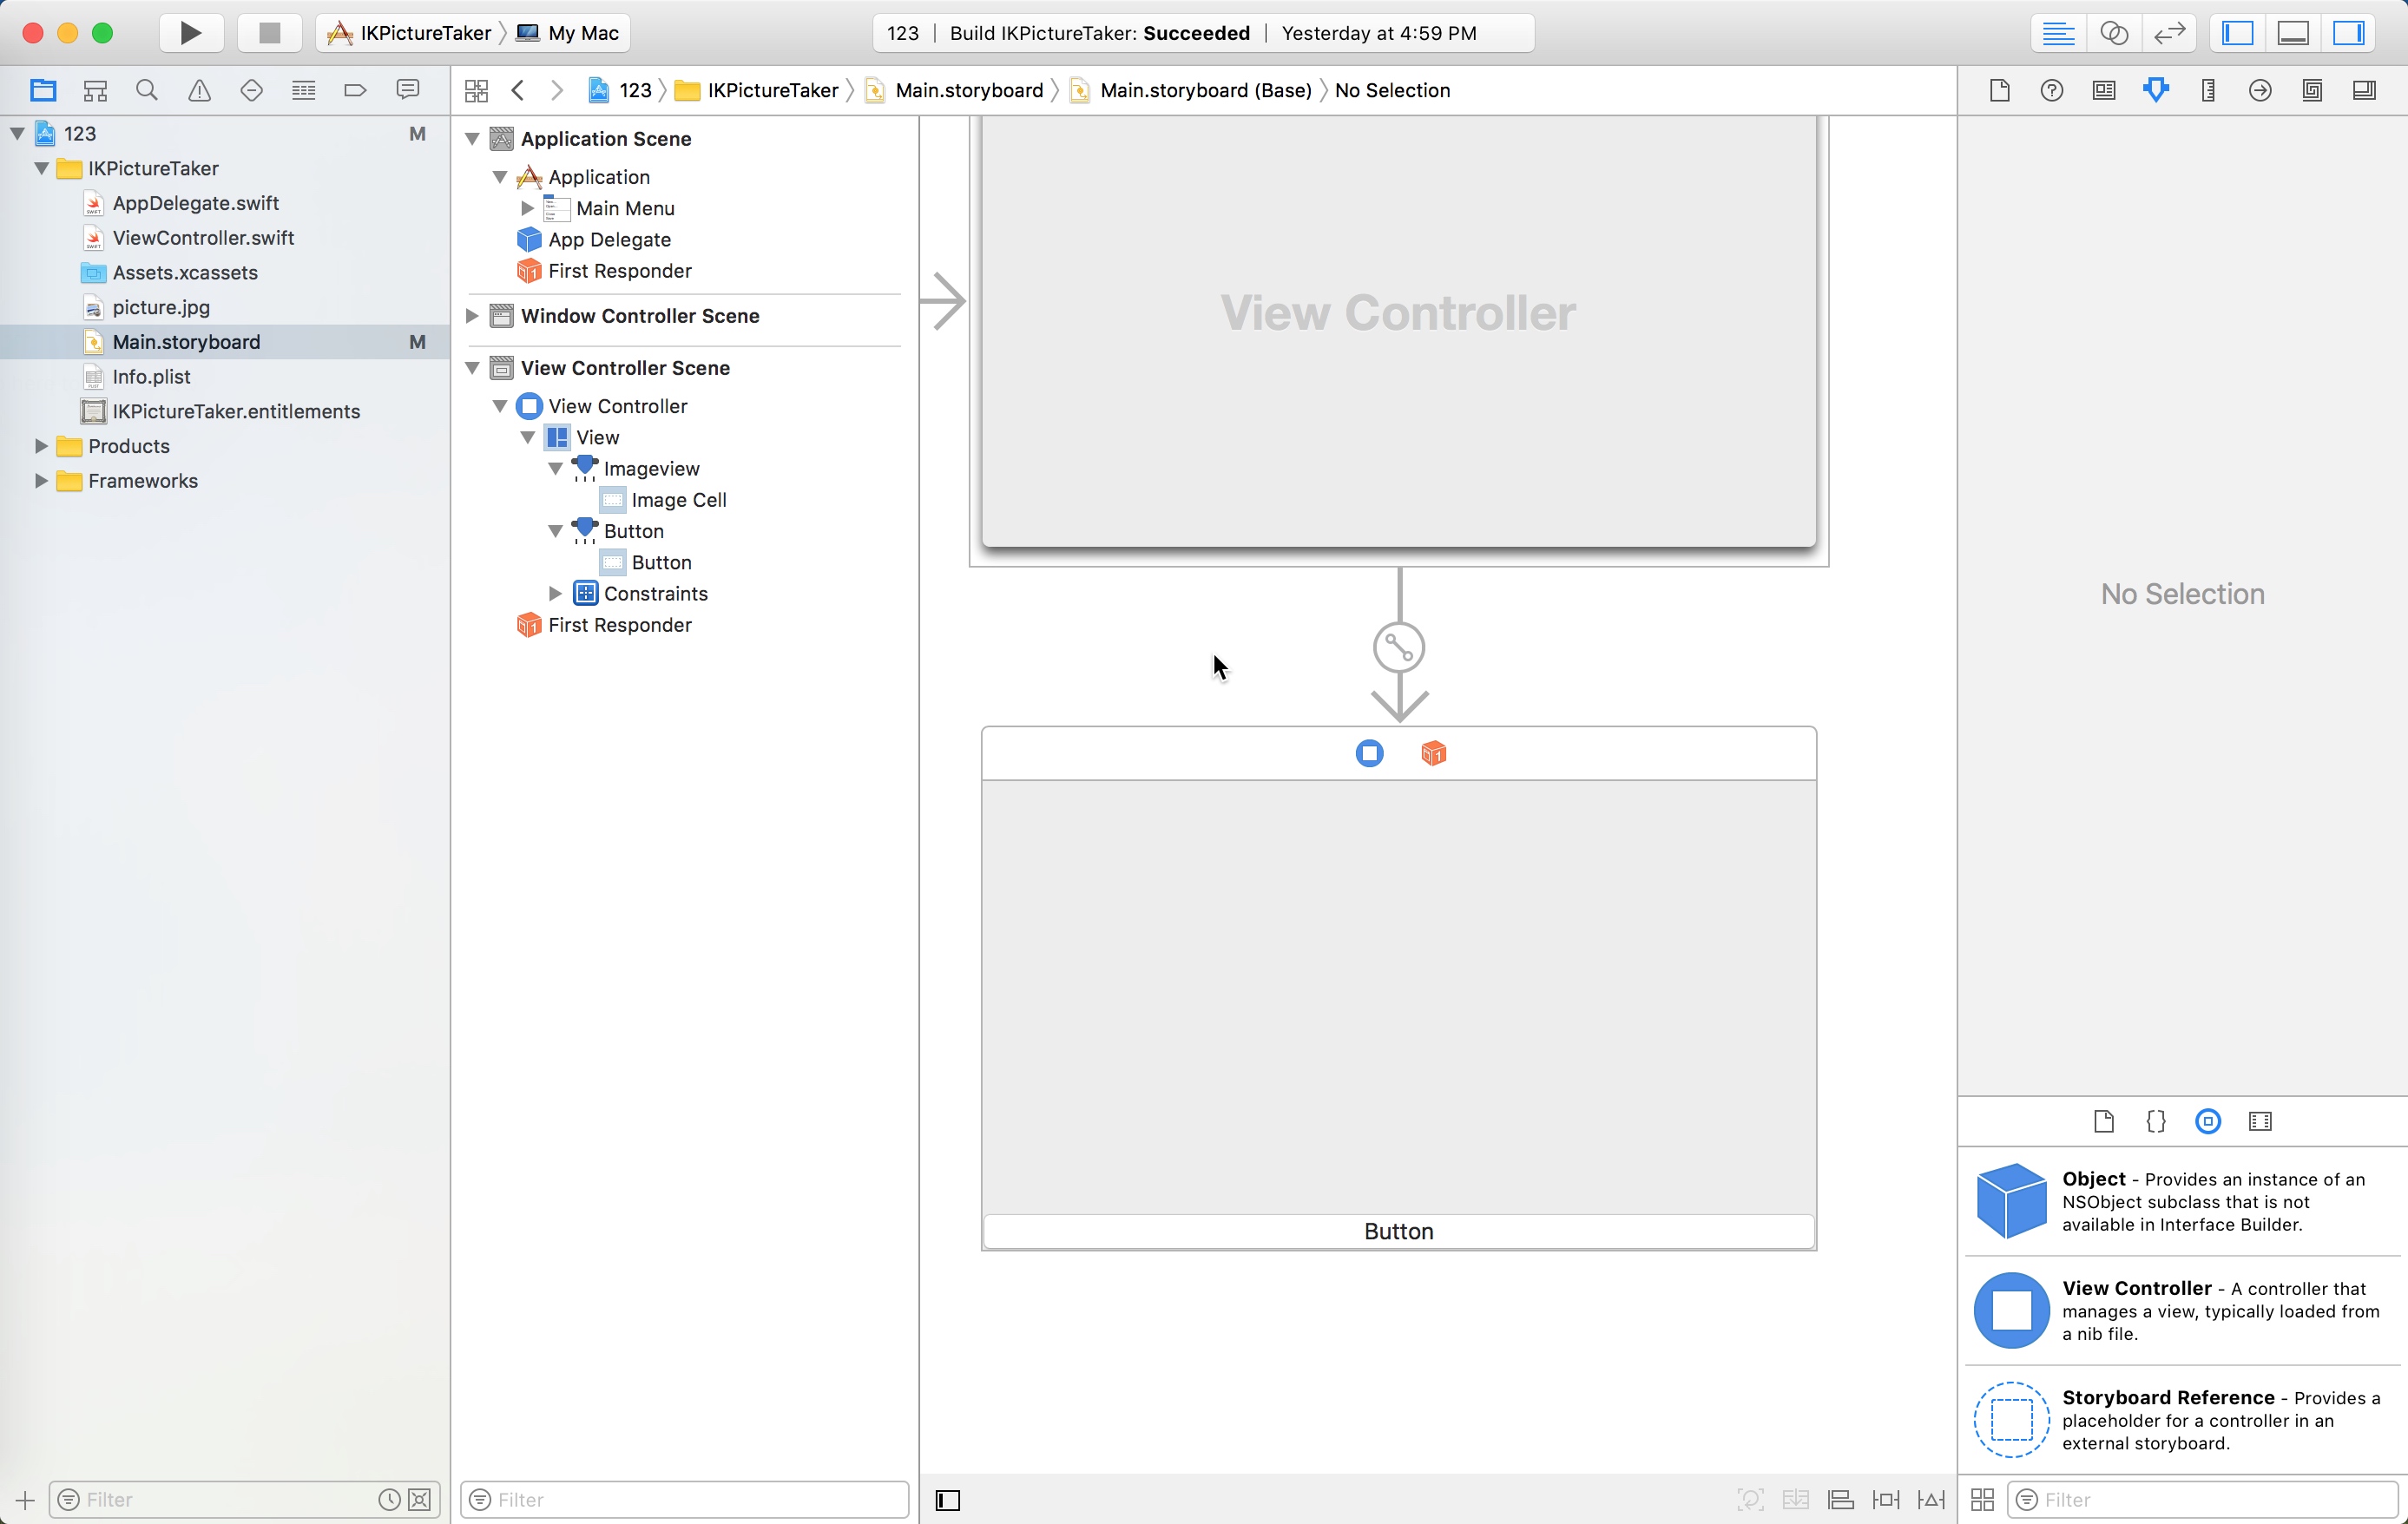
然后拖线设置NSButton的Action方法和NSImageView的属性.

然后在NSButton的Action方法里面实例化一个IKPictureTaker对象.并设置相关的属性.
let pictureTaker = IKPictureTaker()
self.setImageInputForPictureTaker(pictureTaker: pictureTaker)
let number = NSNumber(value: true)
pictureTaker.setValue(number, forKey: IKPictureTakerShowEffectsKey)
然后初始化一个NSWindow用于窗口弹出.
let window = NSWindow(contentRect: NSRect(x: 100, y: 100, width: 100, height: 100), styleMask: .resizable, backing: .buffered, defer: true)
window.titleVisibility = .hidden
window.titlebarAppearsTransparent = true
window.isMovableByWindowBackground = true
pictureTaker.beginSheet(for: window, withDelegate: self, didEnd: #selector(pictureTakerValidated(pictureTaker:returnCode:contextInfo:)), contextInfo: nil)
这时候,主要的流程已经实现完毕,剩下的就是对里面的函数进行声明和实现.首先是setImageInputForPictureTaker这个方法.通过URL和Bundle这两个类拿到图片的路径.(这个方法在oc的demo里面是生效的,但是在Swift里面没生效,我也不知道为啥)
let picUrl: URL
let bundle = Bundle()
if (bundle.isLoaded) {
let picPath = bundle.path(forResource: "picture", ofType: "jpg")
if ((picPath) != nil) {
picUrl = URL.init(fileURLWithPath: picPath!)
pictureTaker.setInputImage(NSImage.init(byReferencing: picUrl))
}
}
然后是实现pictureTakerValidated这个方法.通过返回值判断点击的按钮是否为OK按钮.
if (returnCode == NSModalResponseOK) {
let outputImage: NSImage = pictureTaker.outputImage()
self.imageview.image = outputImage
}
最后,run一下,大功告成.
范例工程
参考资料
IKPictureTaker Simple Code (Objective-C)